


To begin with, I had my covers printed by a local print shop. This is expensive - the cover can easily cost more than the book. So I developed a way to make it myself. For instructions on creating the book from loose sheets, and for help with several of the techniques below, click here.
You will need a good printer and access to a heavy duty guillotine for trimming the book at the end - see 9. below.
1. Find out the heaviest weight of paper your printer will handle. Mine will take 160gsm (grams per square metre). This is not thick enough to be called card, in my view, but we will overcome that hurdle by gluing it to an endpaper, increasing its sturdiness.
2. Check the largest size of paper your printer can accept. Mine is called Legal, and is 14 inches by 8.5. This is large enough to create a wrap-around cover for an A5 book, including extra to be cut off after gluing it on. I found that the printer would accept paper 223 mm wide, which is just a bit wider than Legal. The extra millimetres are helpful.
3. Buy the 160gsm paper in A3 size, and cut
it down to the Legal size. Design your cover in a wordprocessing
programme, setting the page size before you start work. I set the
page up in two columns, and design the front cover on the right
hand column. I create the cover photo in a photo editing
programme, and include the title down the left hand side of the
photo, which will become visible on the spine. See right for an
example. Make sure your measurements are accurate so that the
cover design ends up looking right when on the book.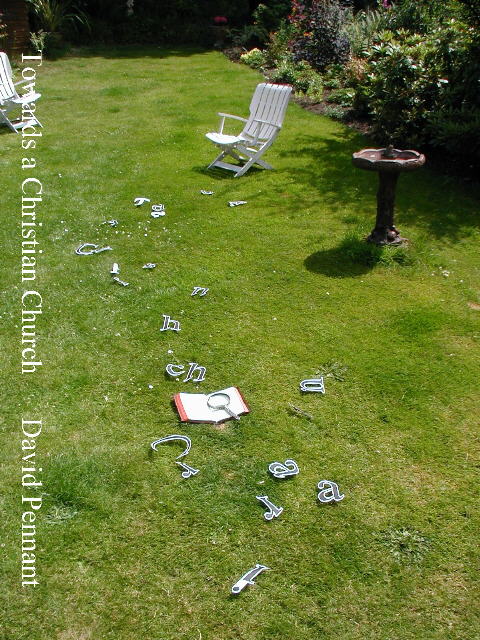
4. Remember to tell the printer to load from the single sheet feeder when printing, and that you are using thicker stock. I had poor results to begin with - the ink did not want to stick to the thicker paper in small patches, but I overcame this by putting the paper in the airing cupboard for an hour before use. Perhaps it was slightly damp.
5. To attach the cover to the book, glue on endpapers first. For an A5 book, take a sheet of A4 and fold it in the middle, making an A5 fold, and glue it on to the sewn-up book from the spine as far as the stitching only. This adds two leaves to the book, the outer of which will be fully glued to the cover.
6. When the endpapers are dry, fold the cover once carefully so that the spine will coincide with the lettering. Then insert the book into the fold, and fold the cover round it making the second fold.
7. Put a waste sheet of A4 under the endpaper, cover the endpaper with glue, change the waste A4 for another waste A4, and carefully position the book into the cover. Smoothe the cover on firmly. Turn it all over and repeat with the other side. The cover is now glued on.
8. Put the glued book under pressure in the workmate for two hours to dry.
9. When the glue has dried, the book will need to be trimmed with a heavy duty guillotine. I bought an Ideal 3900 through Exchange and Mart for £300 - new they are £750 + VAT. Take a millimetre or two off each side (except the spine!), which will leave the cover the same size as the book. A local print shop will trim it for you if you have no guillotine, or call in here if you are local to Woking.
Do email if you need help! Best wishes with it. David Pennant